How Roof Insurance Claims Work in Oklahoma: A Step-by-Step Guide

Filing a roof insurance claim after a storm in Oklahoma should be straightforward, but for many homeowners it turns into a confusing and frustrating experience. Between adjuster visits, Xactimate line items, supplemental claims, and contractor estimates, the process has more moving parts than most people expect.
This guide walks you through every step of the Oklahoma roof insurance claim process — from the moment you notice damage to the final payment — so you know what to expect, what to watch for, and how to avoid the mistakes that cost homeowners money.
How Oklahoma Homeowner’s Insurance Covers Roof Damage
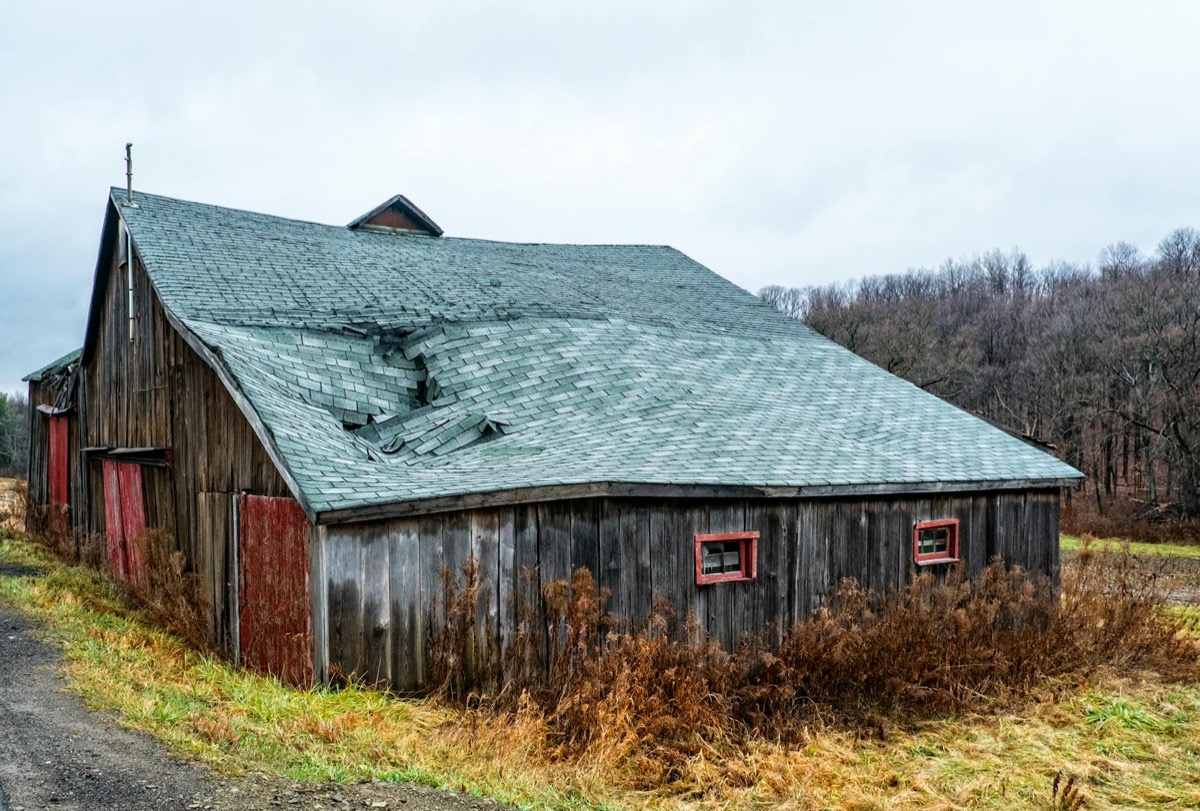
Most standard Oklahoma homeowner’s insurance policies cover roof damage caused by sudden, accidental events — hail, wind, tornado, and falling debris. This is different from damage caused by neglect, normal wear and tear, or deferred maintenance, which is generally not covered.
Oklahoma sits in one of the most active severe weather corridors in the country. The OKC metro averages four to six significant hail events per year, and wind events capable of lifting or tearing shingles are common from March through November. As a result, roof damage claims are among the most frequent homeowner’s insurance claims in the state.
Your policy likely has a separate wind and hail deductible, which may differ from your standard deductible. Many Oklahoma policies have shifted to percentage-based deductibles for wind and hail — typically one to two percent of the home’s insured value. On a $300,000 home, that means a $3,000 to $6,000 out-of-pocket cost before insurance coverage kicks in. Know your deductible before a storm hits so you are not surprised.
Step 1: Document the Damage Before Cleanup
The single most important thing you can do after storm damage is document everything before you clean up, make temporary repairs, or move anything.
Walk around the exterior of your home with your phone and photograph:
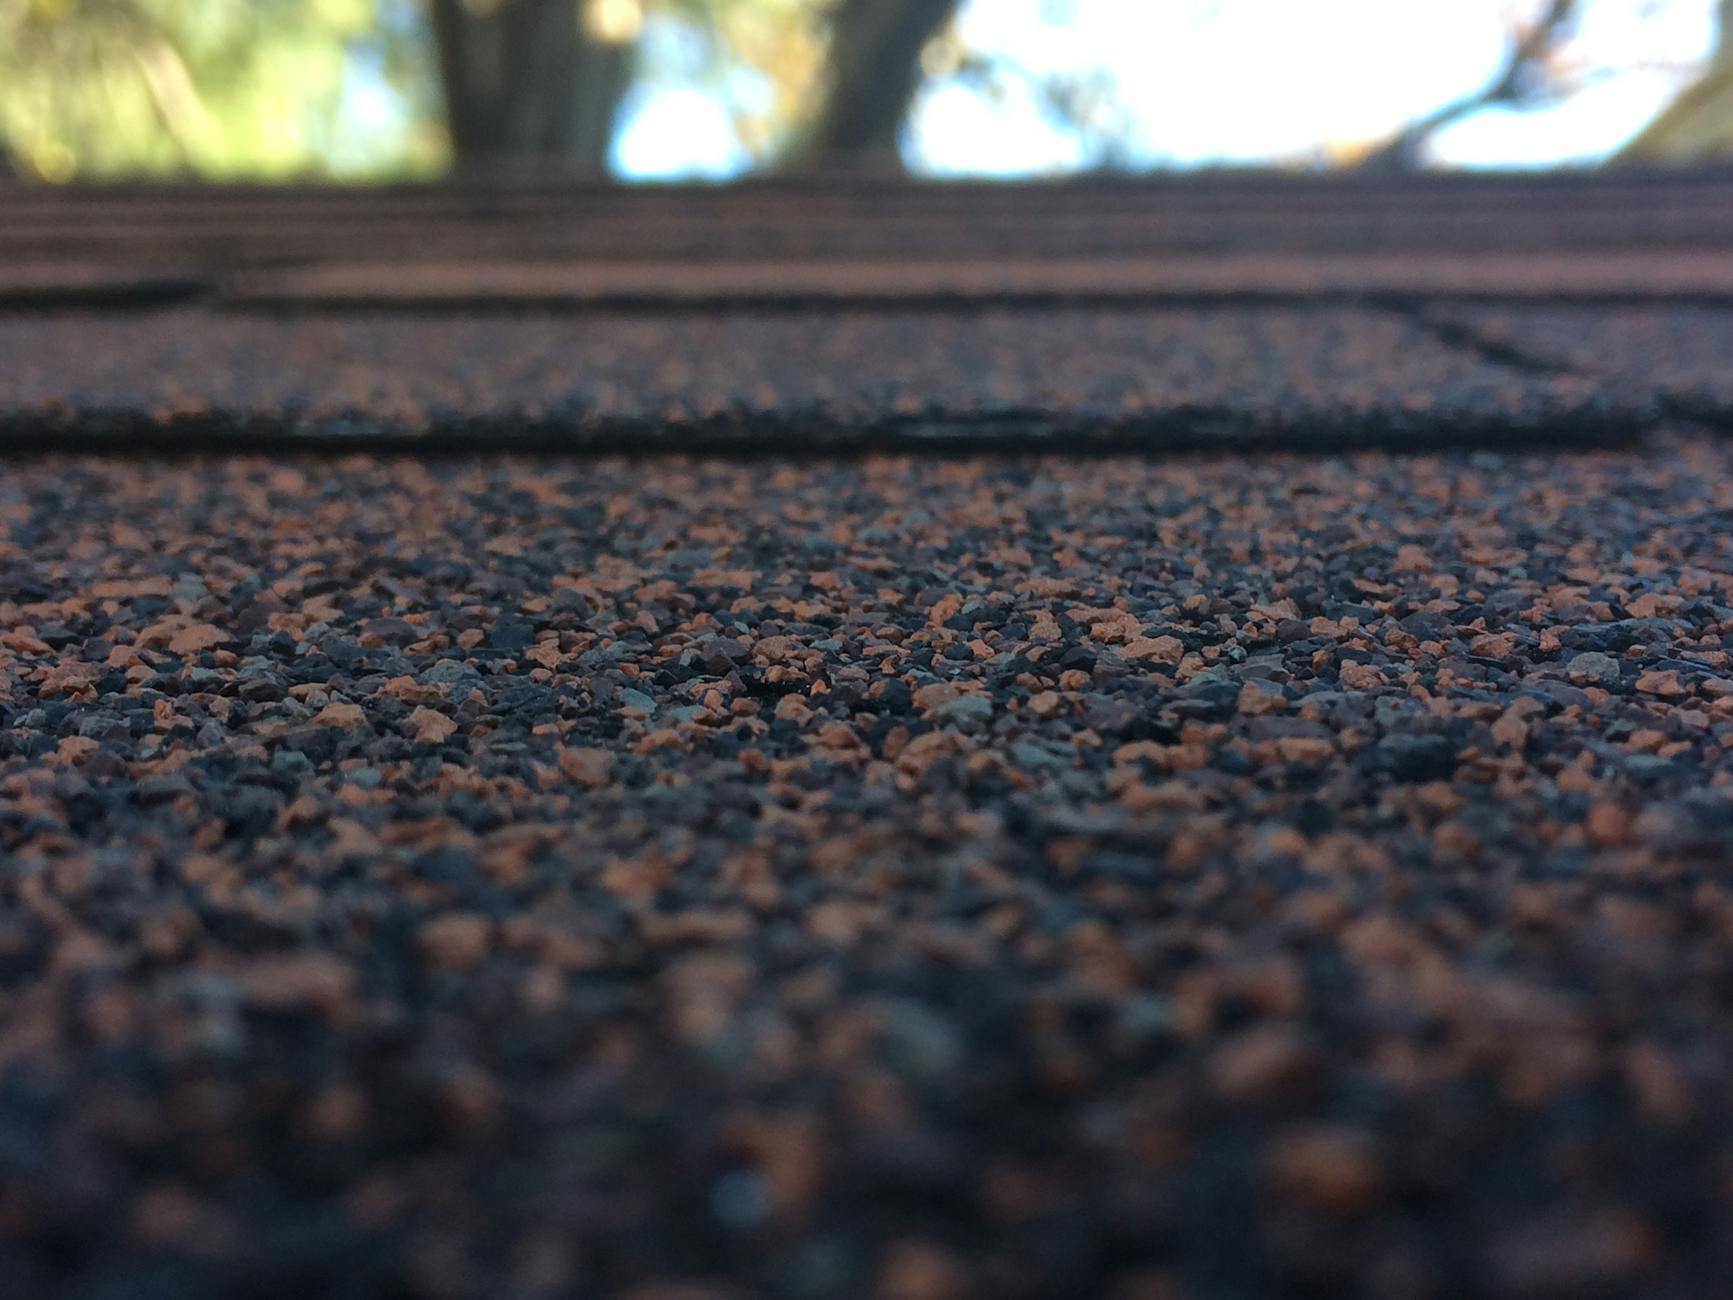
- Roof damage visible from the ground (missing shingles, exposed underlayment, debris)
- Gutter and downspout dents — these are reliable hail indicators
- Siding and window damage on all sides of the home
- Damage to outbuildings, fences, AC units, and vehicles
- Fallen tree limbs or debris on the property
Inside the home, photograph any water stains on ceilings or walls, damp insulation in the attic, and any visible daylight through the roof deck. These photos should be time-stamped and stored safely — they become evidence that the damage occurred during the specific storm event.
If your roof is actively leaking, it is appropriate to place tarps or buckets to prevent further interior damage. Emergency mitigation is expected by insurance companies and is typically covered. Just photograph the damage before tarping.
Step 2: Contact Your Insurance Company
Call your insurance company’s claims line to report the damage. You will receive a claim number and information about next steps. Be factual and specific: report what you observed, when the storm occurred, and what areas of the home appear affected.
Do not agree to any scope of repair or settlement over the phone during this initial call. The purpose is to open the claim and get an adjuster assigned.
Important Oklahoma timeline: Oklahoma law generally gives homeowners one year from the date of the storm to file a property damage claim. While you have that window, do not delay. Hail and wind damage worsens over time, and waiting months makes it harder to demonstrate that a specific storm caused the damage.
Step 3: Get an Independent Roofing Contractor Inspection
Before the insurance adjuster visits, have an independent roofing contractor inspect your roof. This is not about gaming the system — it is about ensuring you have an accurate, professional assessment of the damage that you can compare against the adjuster’s findings.
A qualified contractor will get on the roof, photograph every damage point, and provide a written assessment. The best contractors use Xactimate software to generate their estimate — more on why that matters in Step 5.
The inspection should be free. If a roofing company charges for a post-storm inspection, that is a red flag. A thorough hail damage inspection from a reputable local roofer costs you nothing and gives you critical information for the claims process.
Step 4: The Adjuster Visit — What to Expect
Your insurance company will send a claims adjuster to inspect the damage in person. This visit typically happens within one to three weeks of filing, though it can take longer after widespread storm events when adjusters are handling a high volume of claims.
Here is what happens during the adjuster visit:
- The adjuster will inspect the roof, siding, gutters, and any other areas you reported as damaged
- They will document what they find using their own methodology and tools
- They will generate an estimate of the repair or replacement cost
This is the most important recommendation in this entire guide: Have your roofing contractor present during the adjuster’s inspection. A knowledgeable contractor can walk the roof alongside the adjuster, point out damage that might be missed, and ensure the scope is accurately captured. This is not adversarial — it is collaborative. Adjusters are often working dozens of claims simultaneously and appreciate when a professional contractor helps them see the full picture.
The difference between having a contractor present and not can be thousands of dollars in claim coverage. Experienced insurance claim assistance at the adjuster visit is one of the highest-value things a roofing company can offer.
Step 5: Understanding Xactimate Estimates
Xactimate is the estimating software used by the vast majority of insurance companies in the United States. It prices every component of a roofing job — tear-off, disposal, underlayment, drip edge, flashing, shingles, ridge cap, ventilation, and dozens of other line items — using a database of localized material and labor costs.
When your adjuster writes up the claim, they generate an Xactimate estimate. When your roofing contractor provides their estimate, the two documents should be speaking the same language — but only if your contractor also uses Xactimate.
This is a critical detail. If your contractor provides a handwritten bid or a flat-rate quote, there is no apples-to-apples comparison with the adjuster’s Xactimate report. Line items that your contractor included but the adjuster missed — or vice versa — are impossible to reconcile without matching formats.
Contractors who use Xactimate can identify specific line items the adjuster may have missed or underscoped. Common examples include:
- Drip edge replacement that was not included
- Pipe boot and flashing replacement noted as reusable when it should be replaced
- Ridge cap counted as a repair when full replacement is warranted
- Steep pitch or high roof charges that apply to the specific roof but were omitted
- Code upgrades required by current building codes but not included in the initial estimate
These are not padding — they are legitimate costs that are frequently underscoped on initial adjustments.
Step 6: Supplemental Claims — What They Are and When to File
A supplemental claim is a request to your insurance company for additional funds beyond the initial adjustment. Supplements are a normal and expected part of the claims process — they are not adversarial or unusual.
Supplements are filed when:
- The contractor’s Xactimate estimate identifies line items the adjuster missed. This is the most common reason and is entirely legitimate.
- Hidden damage is discovered once work begins. For example, rotted decking that was not visible during the initial inspection but is exposed during tear-off.
- Code-required upgrades were not included in the original estimate. If your local building code now requires ice and water shield in valleys or upgraded ventilation, these costs are typically covered but frequently left off initial adjustments.
Your roofing contractor should handle the supplemental claim process for you, communicating directly with the insurance company and providing documentation for every additional line item. This back-and-forth is normal and usually resolves within a few weeks.
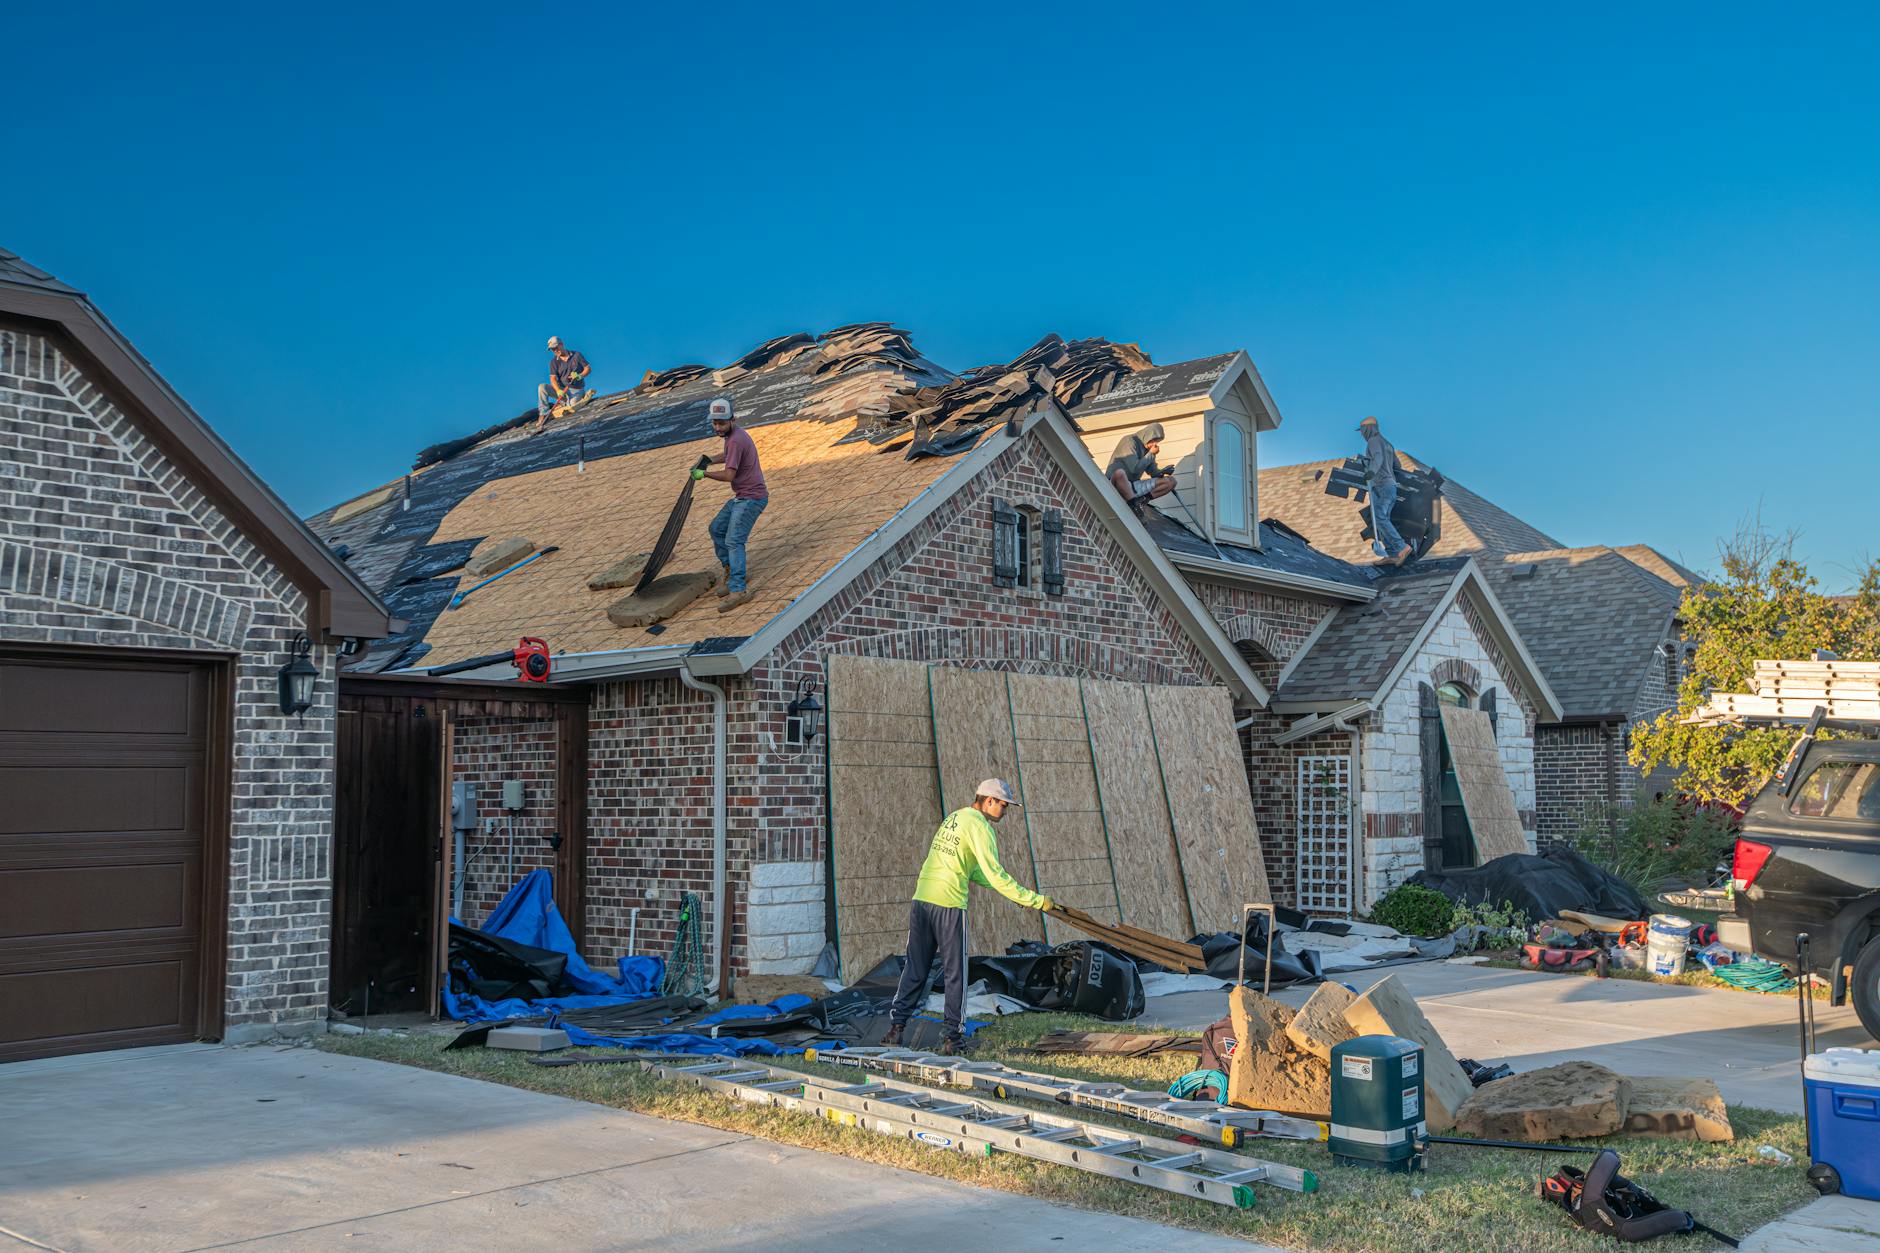
Step 7: Choosing a Contractor After Claim Approval
Once your claim is approved and you have an estimate in hand, you need to choose who does the work. A few guidelines specific to Oklahoma’s post-storm environment:
Choose a local, established contractor. After major hail events, out-of-state storm chasing crews flood the OKC market. They may offer aggressive pricing or pressure tactics, but they often lack Oklahoma contractor licensing, will not be here for warranty issues, and may not understand local building codes.
Verify licensing and insurance. Oklahoma requires roofing contractors to be registered. Ask for proof of general liability insurance and workers’ compensation coverage. If a contractor cannot provide these, walk away.
Understand the payment structure. A legitimate roofing contractor will work within the insurance estimate — you pay your deductible, insurance pays the rest. Be wary of contractors who ask for large upfront deposits, offer to “cover” your deductible (this is insurance fraud in Oklahoma), or pressure you to sign before you have your claim approved.
Get the warranty in writing. Ask about both the labor warranty from the contractor and the manufacturer warranty on materials. Reputable contractors back their work with written warranties that have real value because they will still be in Oklahoma when you need them.
Common Mistakes That Hurt Oklahoma Roof Insurance Claims
After working with hundreds of Oklahoma homeowners through the claims process, the same mistakes come up repeatedly.
Waiting too long to file. Every month that passes between the storm and the claim makes it harder to prove causation. File promptly.
Not documenting damage before cleanup. Once debris is cleared and tarps are up, the original condition is gone. Photograph first.
Not having a contractor at the adjuster visit. This single step affects claim outcomes more than any other.
Accepting the first estimate without review. Initial adjustments frequently underscope the work. Have your contractor review the Xactimate report line by line.
Signing with a storm chaser. Out-of-state contractors who canvas neighborhoods after storms often do subpar work and disappear. Stick with established local companies.
Making permanent repairs before the adjuster visits. Emergency tarping is fine and expected. But replacing shingles or making permanent repairs before documentation is complete can jeopardize your claim.
Your Roof Claim Does Not Have to Be Stressful
The insurance claim process has a lot of steps, but each one serves a purpose. When you understand the sequence and have the right support, it is manageable.
The key is having a roofing contractor who understands the insurance side — someone who uses Xactimate, knows how to document damage for adjusters, handles supplemental claims, and guides you through each step without pressure.
If your home has taken storm damage and you are not sure whether to file a claim, start with a free roof inspection. A thorough assessment will tell you whether the damage meets your deductible threshold and whether filing makes financial sense. There is no obligation and no pressure — just honest information so you can make the right decision for your home.